Difference between revisions of "Sudokeikoku Fuji Bungy Bridge"
| (5 intermediate revisions by the same user not shown) | |||
| Line 6: | Line 6: | ||
344 foot span / 105 meter span<br /> | 344 foot span / 105 meter span<br /> | ||
19??<br /> | 19??<br /> | ||
| − | [[File: | + | [[File:SudokeikokuView.jpg|750px|center]] |
</div> | </div> | ||
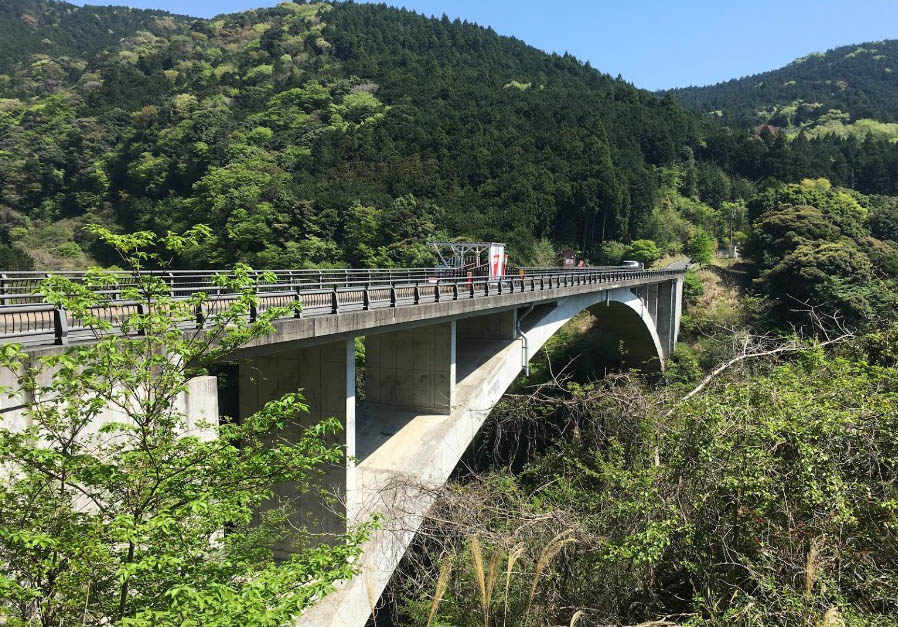
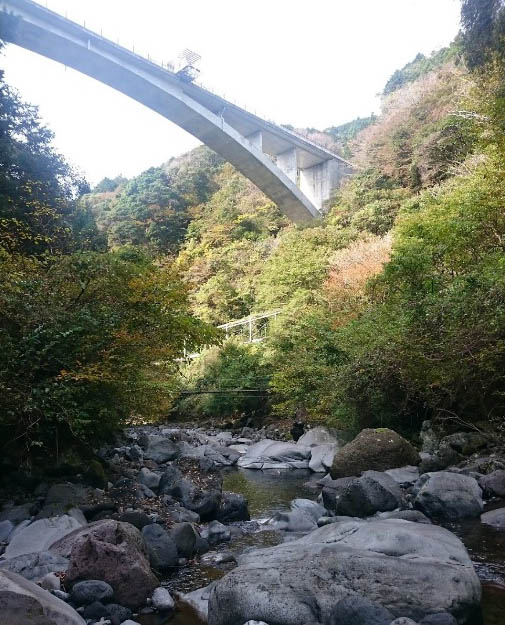
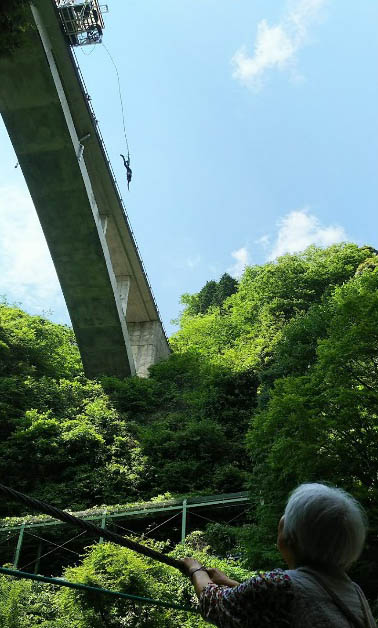
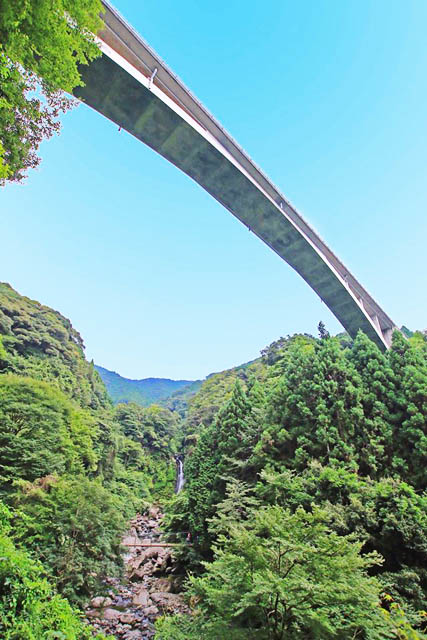
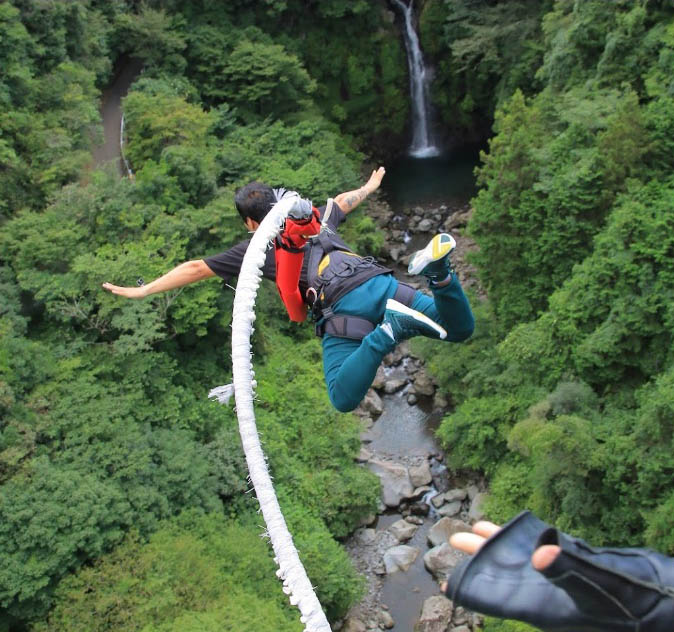
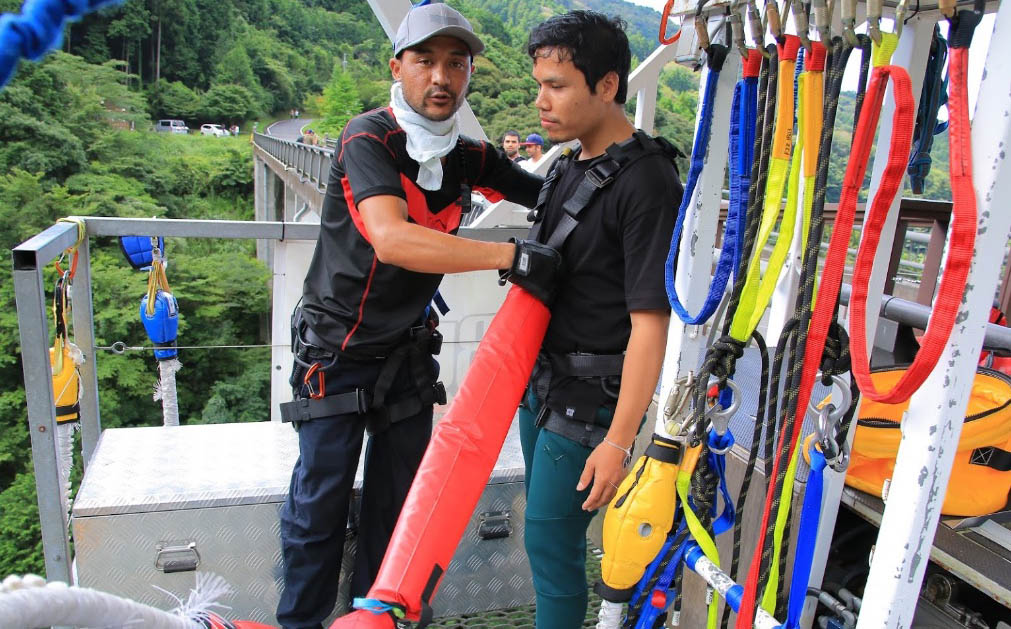
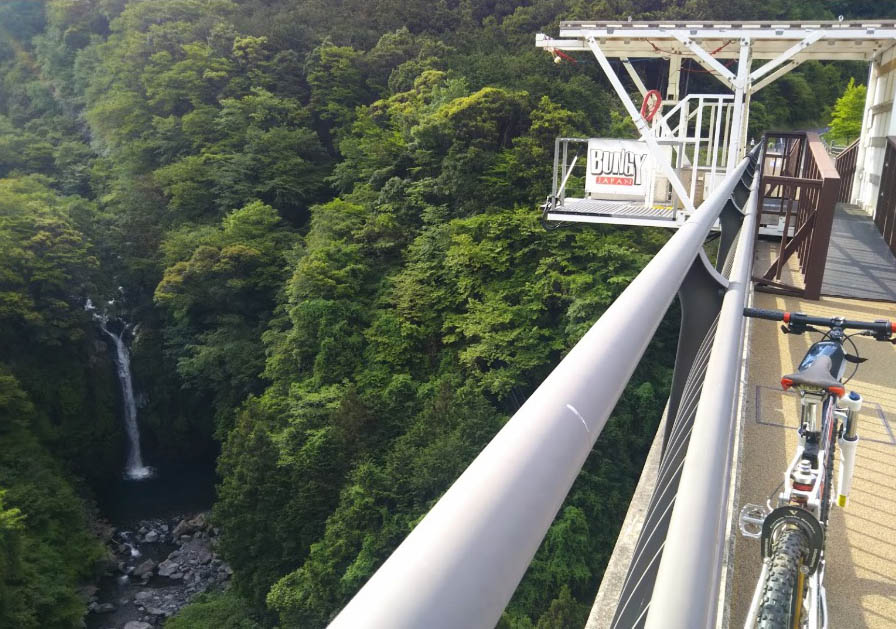
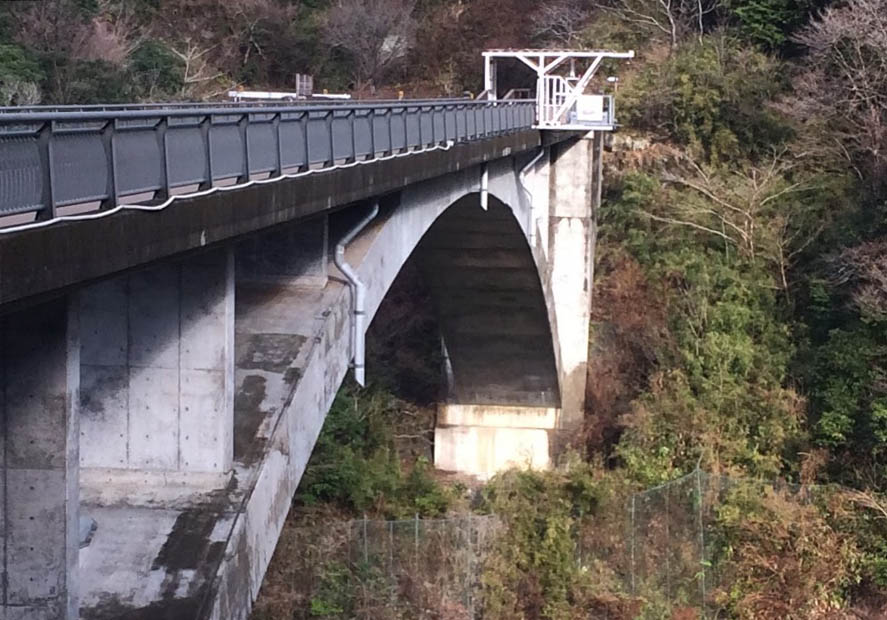
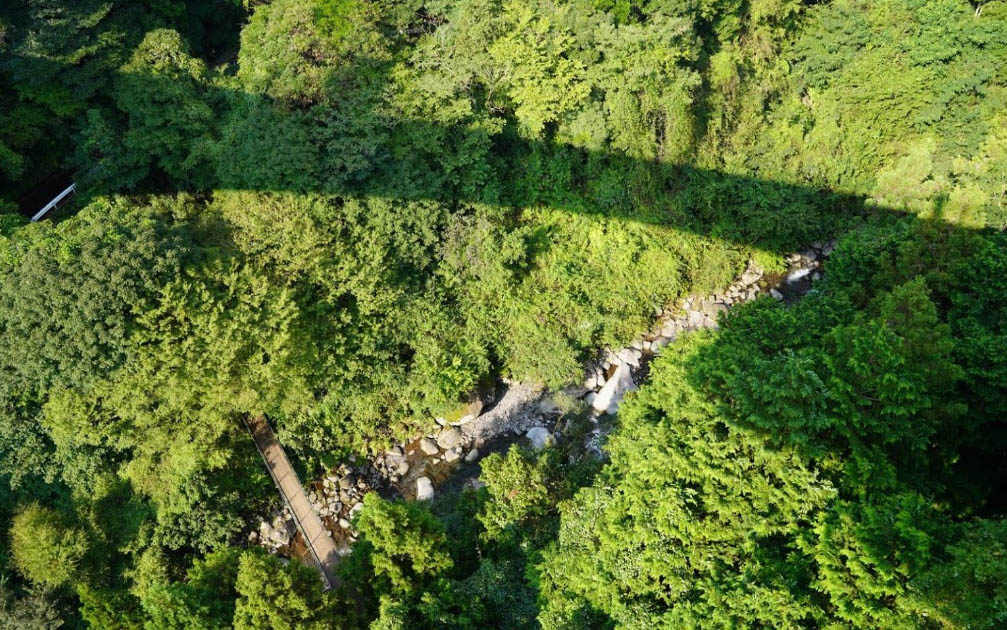
| − | The Sudokeikoku Fuji Bungy Bridge is well hidden in a remote gorge just 20 kilometers south of Mount Fuji. The 2-lane concrete arch crossing is also home to one of Japan's few bungy jump spots | + | The Sudokeikoku Fuji Bungy Bridge is well hidden in a remote gorge just 20 kilometers south of Mount Fuji. The 2-lane concrete arch crossing is also home to one of Japan's few bungy jump spots. Guests experience a drop of 50 meters in front of a spectacular waterfall. Bungy Japan also offers bungy jumping from other high bridges in Japan including Ryujin, Itsukimura, Sarugakyo, Minakami, Kaiun and Yamba Bridges. |
http://www.bungyjapan.com/?lang=en | http://www.bungyjapan.com/?lang=en | ||
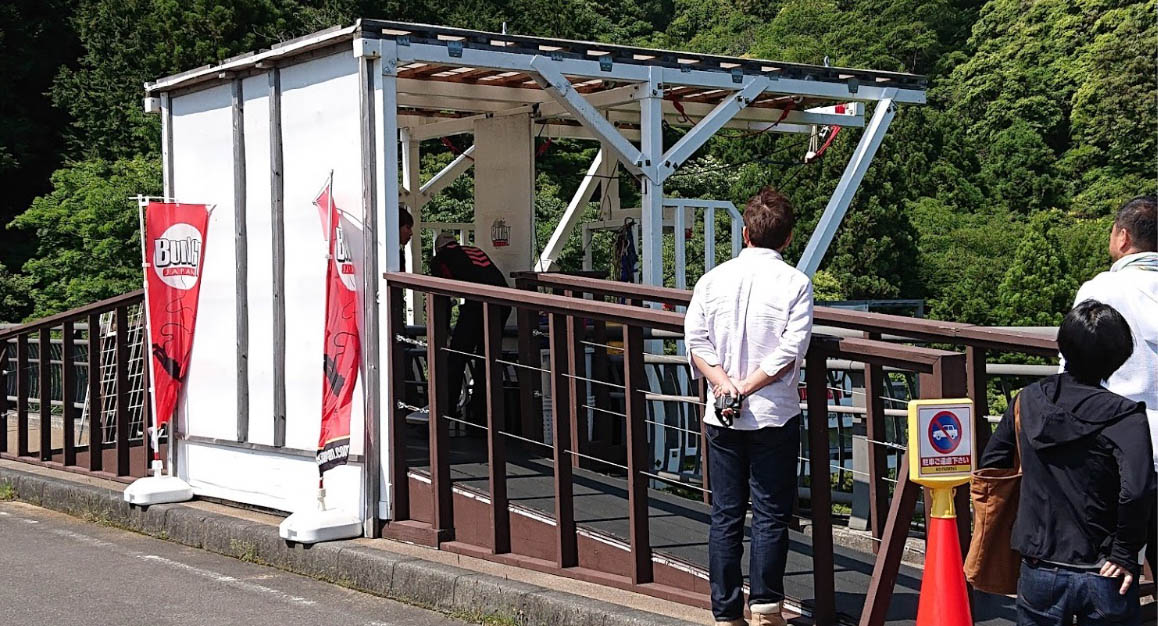
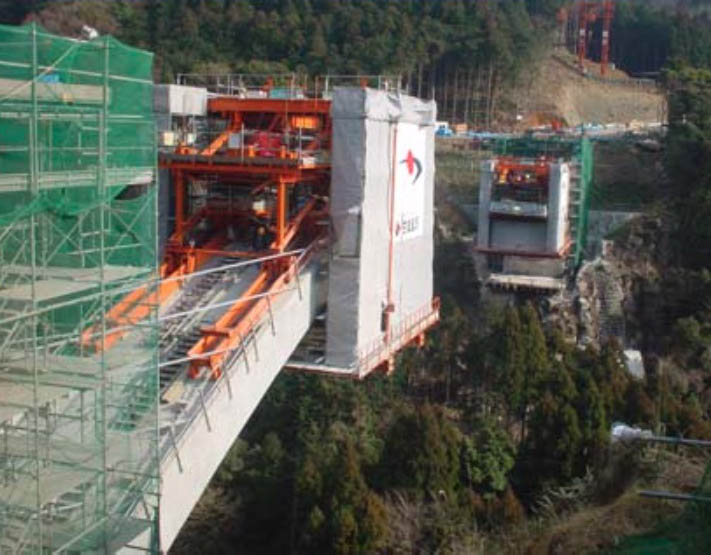
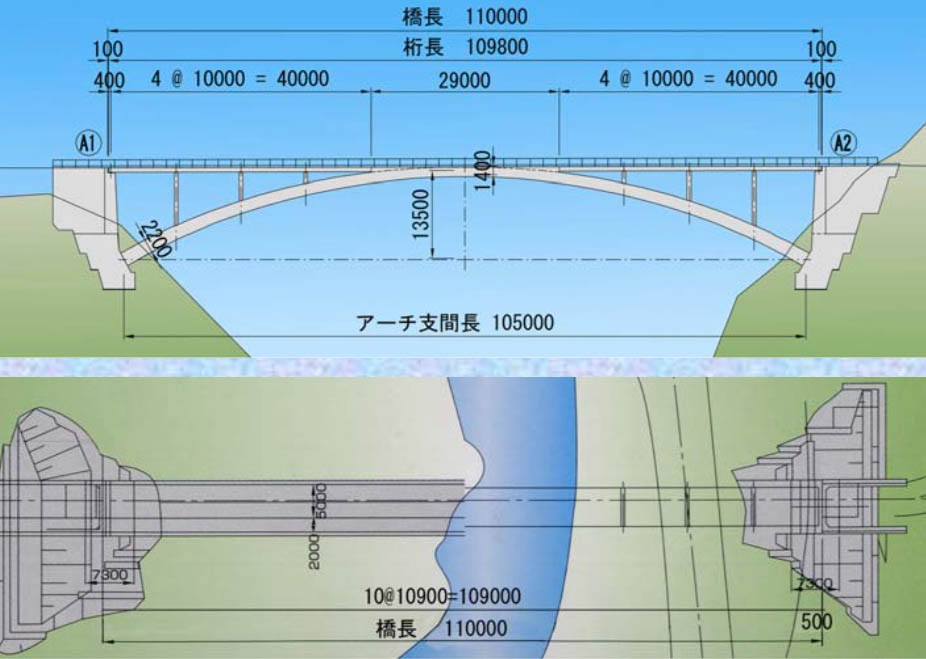
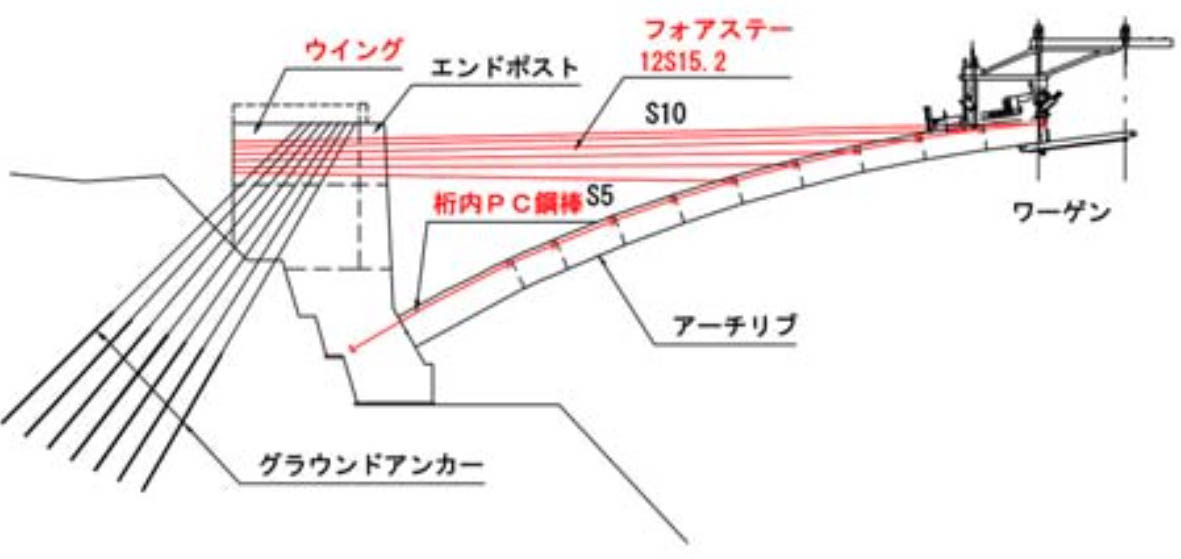
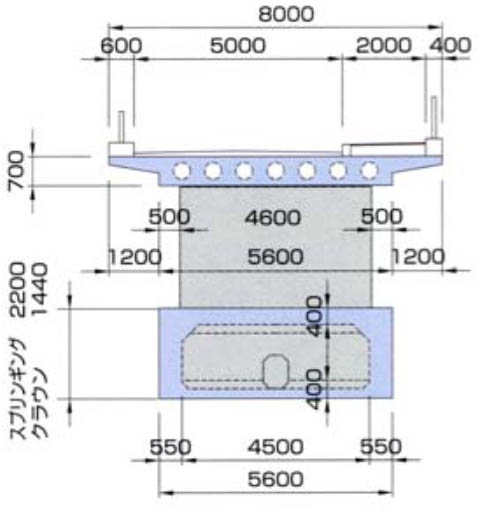
| − | The 105 meter arch of the Sudokeikoku Bridge was built without a highline tower | + | The 105 meter arch of the Sudokeikoku Bridge was built without a more conventional highline tower. Instead the arch halves were held back by a series of cable stays that were directly anchored horizontally into the foundations with an additional prestressing cable used along the topside of the arch ribs. The 12 meter wide deck has a 2 meter wide walkway that allows easy access to the bungy platform. |
| − | [[File: | + | [[File:SudokeikokuBungy2.jpg|550px|center]] |
| − | [[File: | + | [[File:SudokeikokuBungy29.jpg|550px|center]] |
| − | [[File: | + | [[File:SudokeikokuBungy32.jpg|550px|center]] |
| − | [[File: | + | [[File:SudokeikokuBungy28.jpg|550px|center]] |
| − | [[File: | + | [[File:SudokeikokuBungy By NATALIA KOPORULINA.jpg|550px|center]] |
| + | Image by NATALIA KOPORULINA. | ||
| − | [[File: | + | [[File:SudokeikokuBungy26.jpg|550px|center]] |
| − | [[File: | + | [[File:SudokeikokuBungy21.jpg|750px|center]] |
| − | [[File: | + | [[File:SudokeikokuBungy25.jpg|750px|center]] |
| − | [[File: | + | [[File:SudokeikokuBungy24.jpg|750px|center]] |
| − | [[File: | + | [[File:SudokeikokuBungy15.jpg|750px|center]] |
| − | [[File: | + | [[File:SudokeikokuBungy.jpg|750px|center]] |
| − | [[File: | + | [[File:SudokeikokuBungy7.jpg|750px|center]] |
| − | [[File: | + | [[File:SudokeikokuBungy6.jpg|750px|center]] |
| − | [[File: | + | [[File:SudokeikokuBungy8.jpg|750px|center]] |
| − | [[File: | + | [[File:SudokeikokuBungy9.jpg|750px|center]] |
| − | [[File: | + | [[File:SudokeikokuBungy11.jpg|750px|center]] |
| − | [[File: | + | [[File:SudokeikokuBungy19.jpg|750px|center]] |
| − | [[File: | + | [[File:SudokeikokuBungy16.jpg|750px|center]] |
| + | |||
| + | |||
| + | [[File:SudokeikokuBungy54meters.jpg|750px|center]] | ||
| + | |||
| + | |||
| + | [[File:SudokeikokuBungy14.jpg|750px|center]] | ||
| + | |||
| + | |||
| + | [[File:SudokeikokuBungy27.jpg|600px|center]] | ||
| + | |||
| + | |||
| + | [[File:SudokeikokuConst.jpg|750px|center]] | ||
| + | |||
| + | |||
| + | [[File:SudokeikokuElevation.jpg|750px|center]] | ||
| + | |||
| + | |||
| + | [[File:SudokeikokuBungy3.jpg|750px|center]] | ||
| + | |||
| + | |||
| + | [[File:SudokeikokuBungy4.jpg|750px|center]] | ||
| + | |||
| + | |||
| + | [[File:SudokeikokuStays.jpg|900px|center]] | ||
| + | |||
| + | |||
| + | [[File:SudokeikokuCrossSection.jpg|550px|center]] | ||
| + | |||
| + | |||
| + | [[File:SudokeikokuBungy18.jpg|750px|center]] | ||
| + | |||
| + | |||
| + | [[File:SudokeikokuBungy17.jpg|750px|center]] | ||
| + | |||
| + | |||
| + | [[File:SudokeikokuSatellite.jpg|750px|center]] | ||
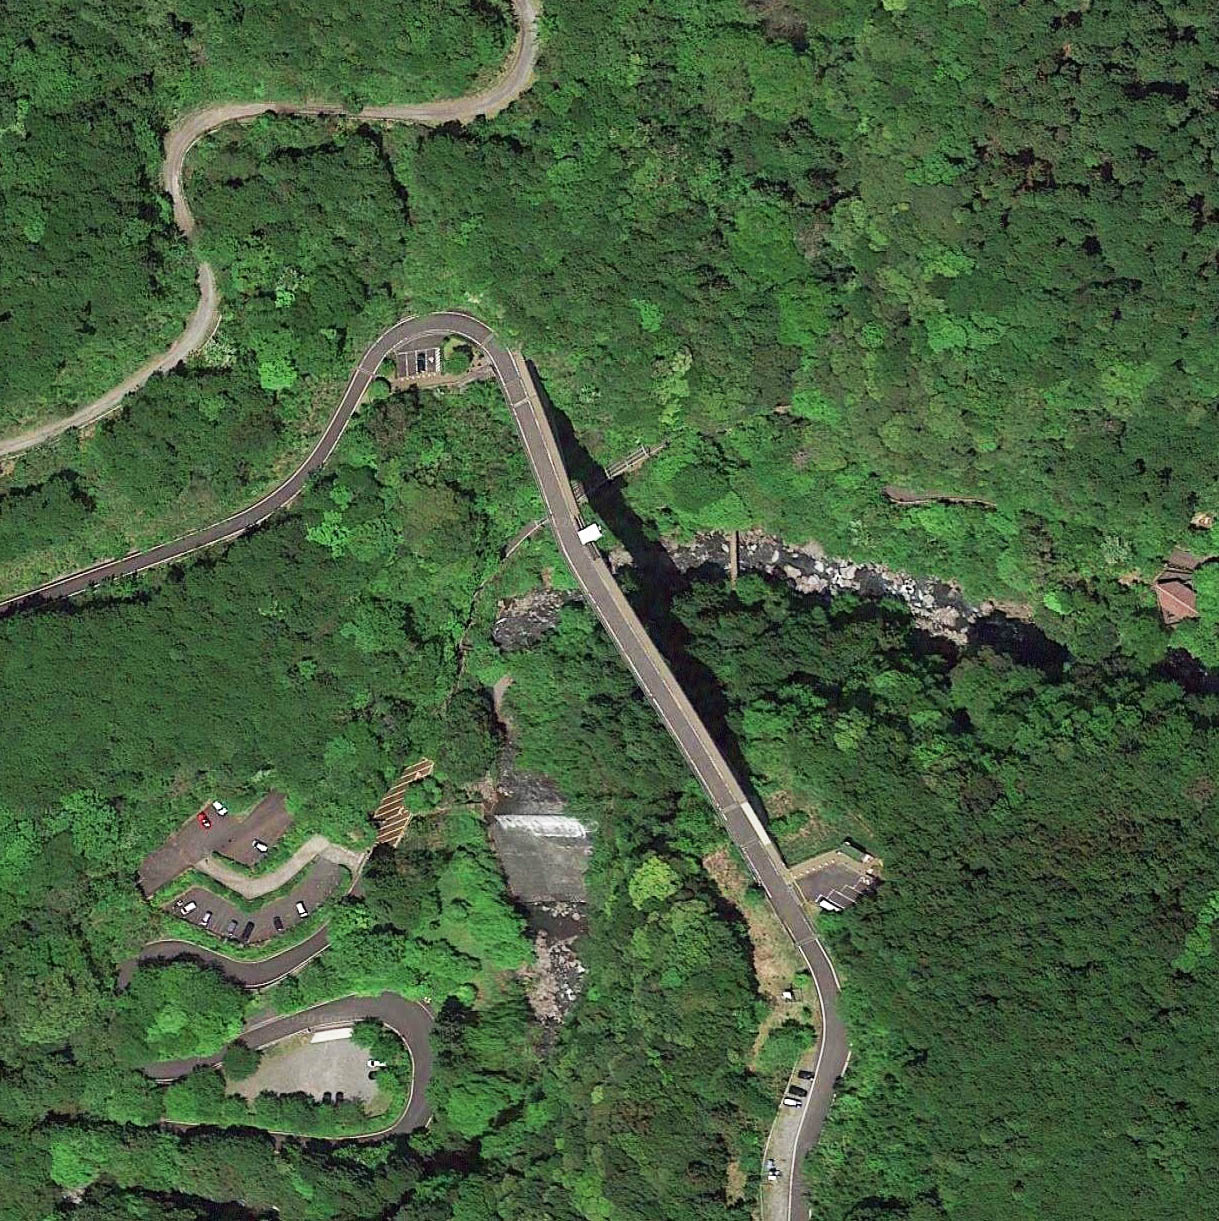
Sudokeikoku Fuji Bungy Bridge satellite image. | Sudokeikoku Fuji Bungy Bridge satellite image. | ||
| − | [[File: | + | [[File:SudokeikokuSatelliteWide.jpg|750px|center]] |
| − | [[File: | + | [[File:SudokeikokuLocationMap.jpg|750px|center]] |
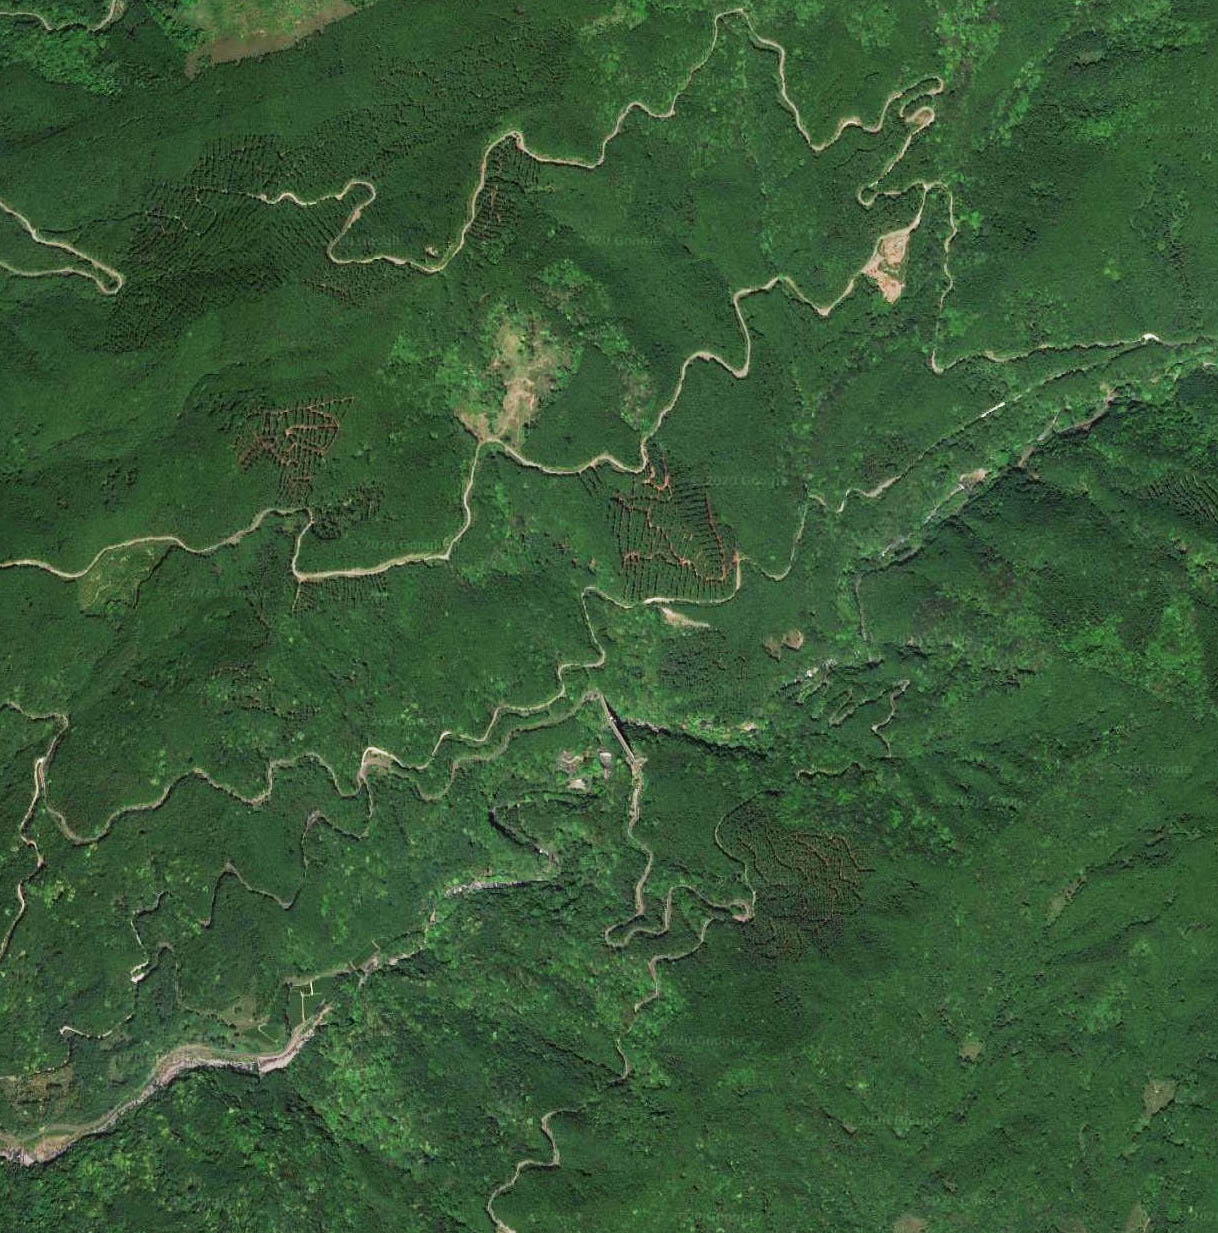
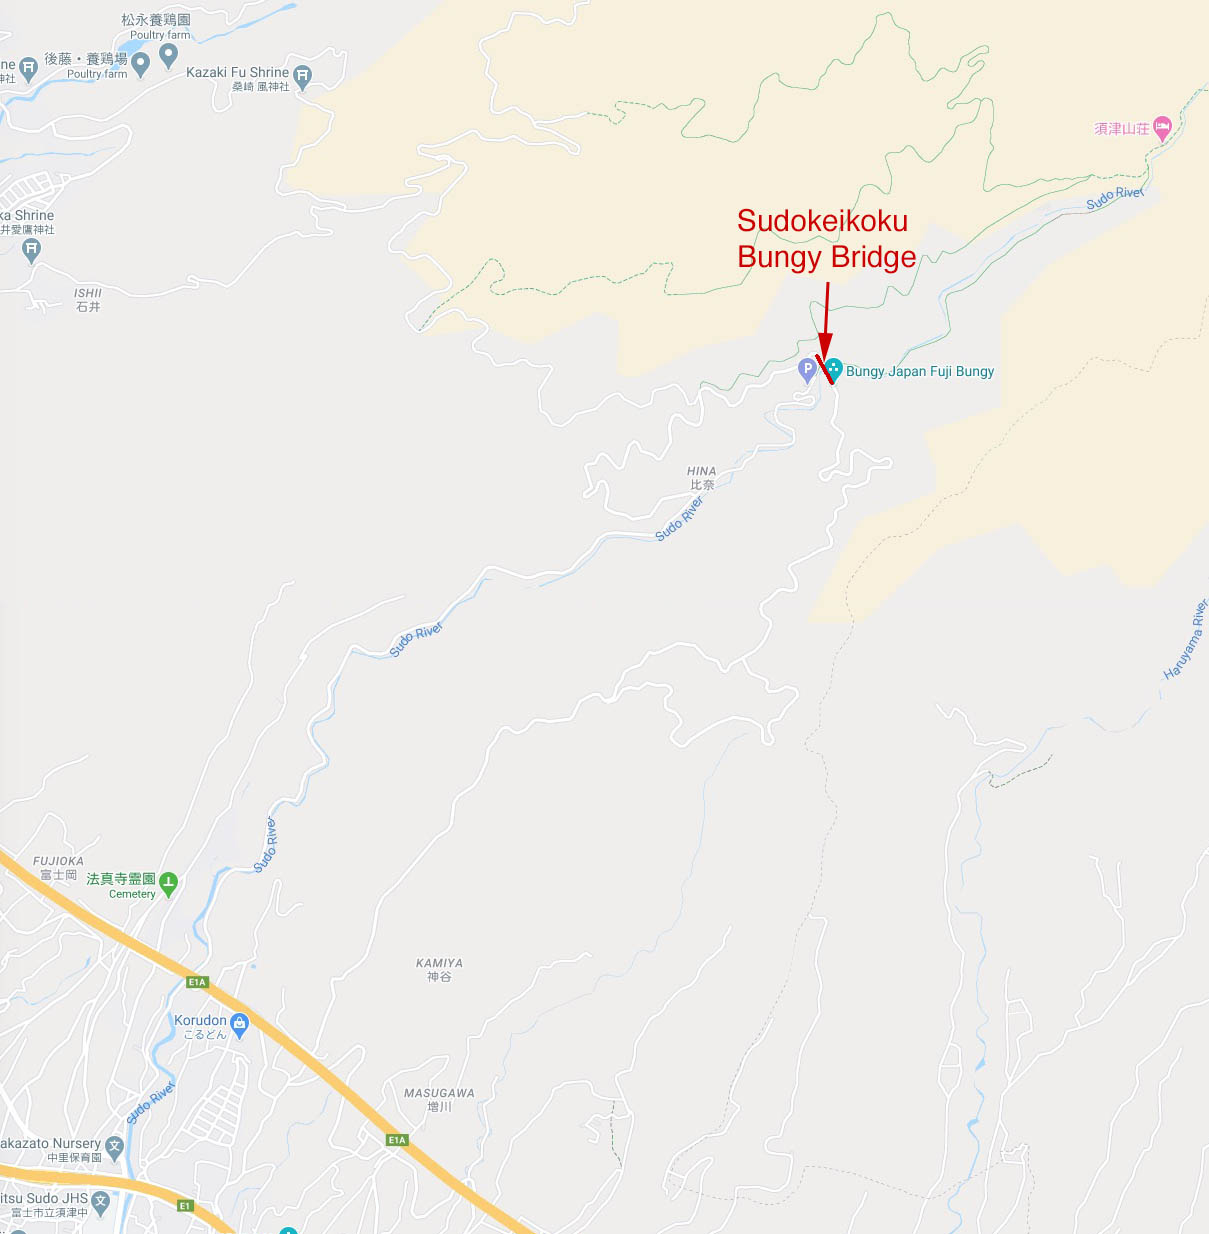
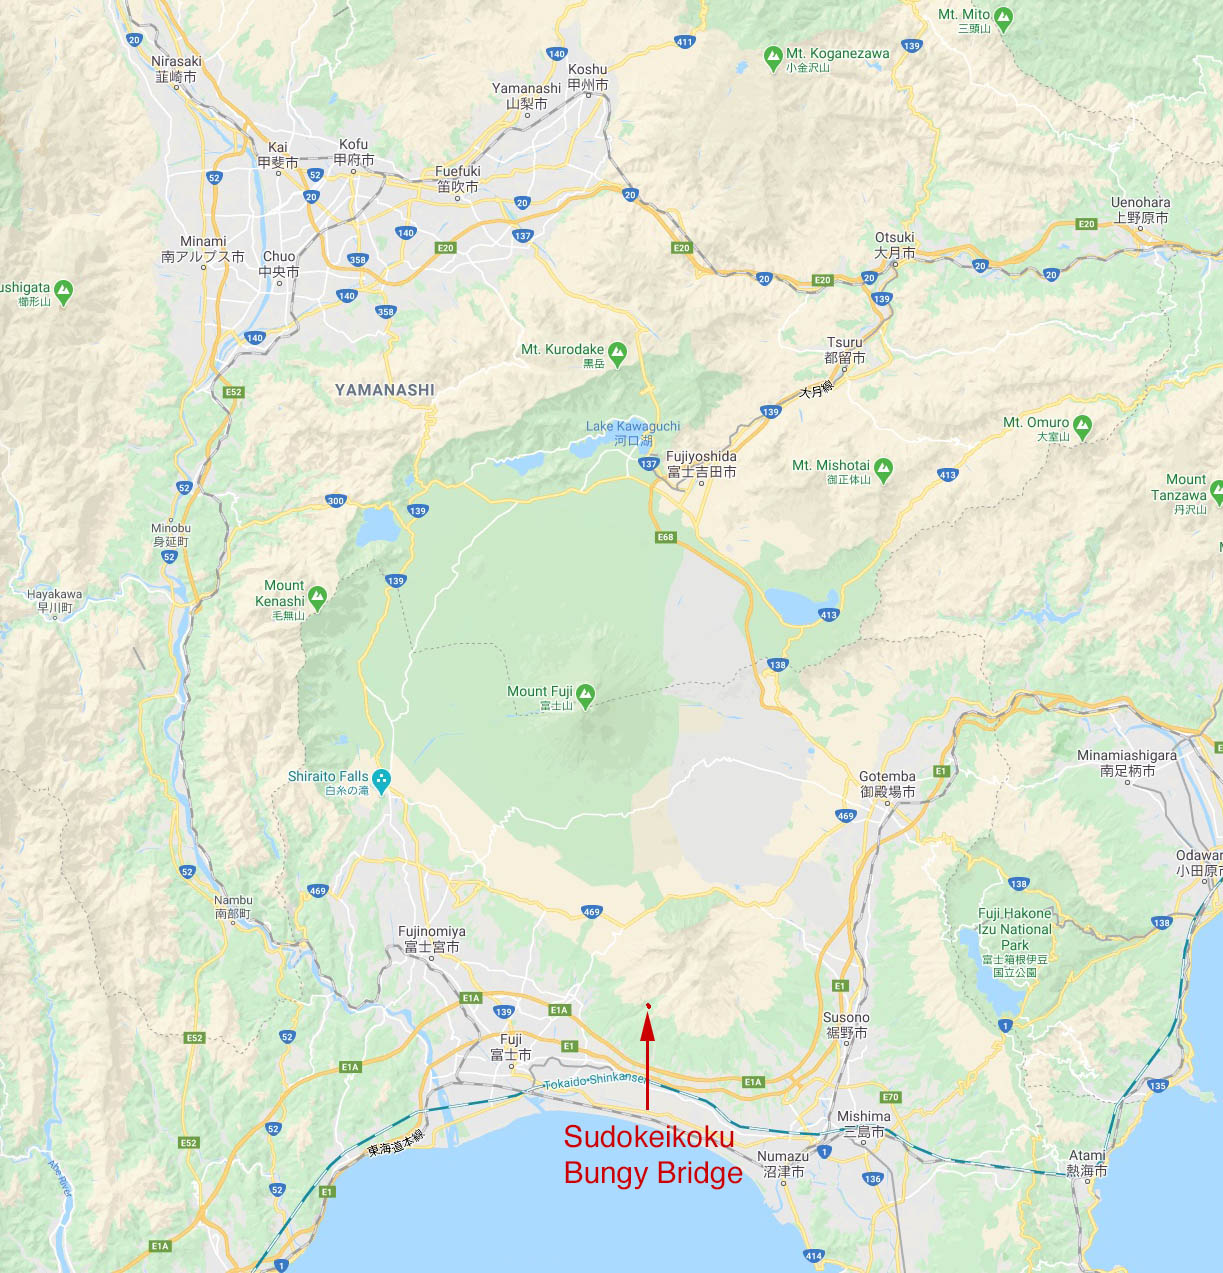
Sudokeikoku Fuji Bungy Bridge location map. | Sudokeikoku Fuji Bungy Bridge location map. | ||
| − | [[File: | + | [[File:SudokeikokuLocationMapWide.jpg|750px|center]] |
[[Category:Bridges in Japan]] | [[Category:Bridges in Japan]] | ||
Latest revision as of 21:58, 20 August 2020
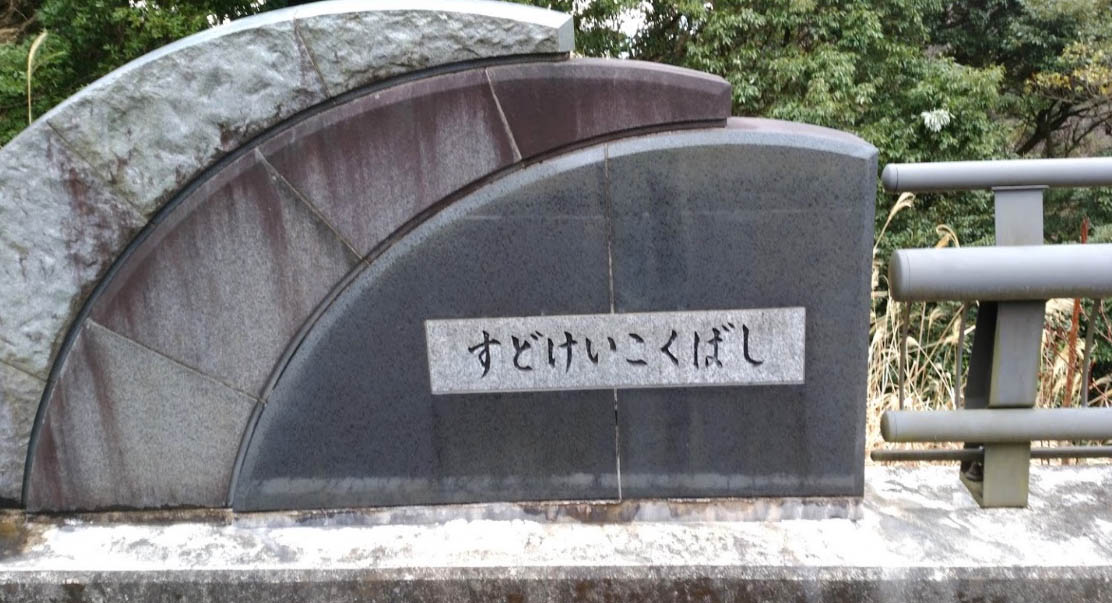
Sudokeikoku Fuji Bungy Bridge
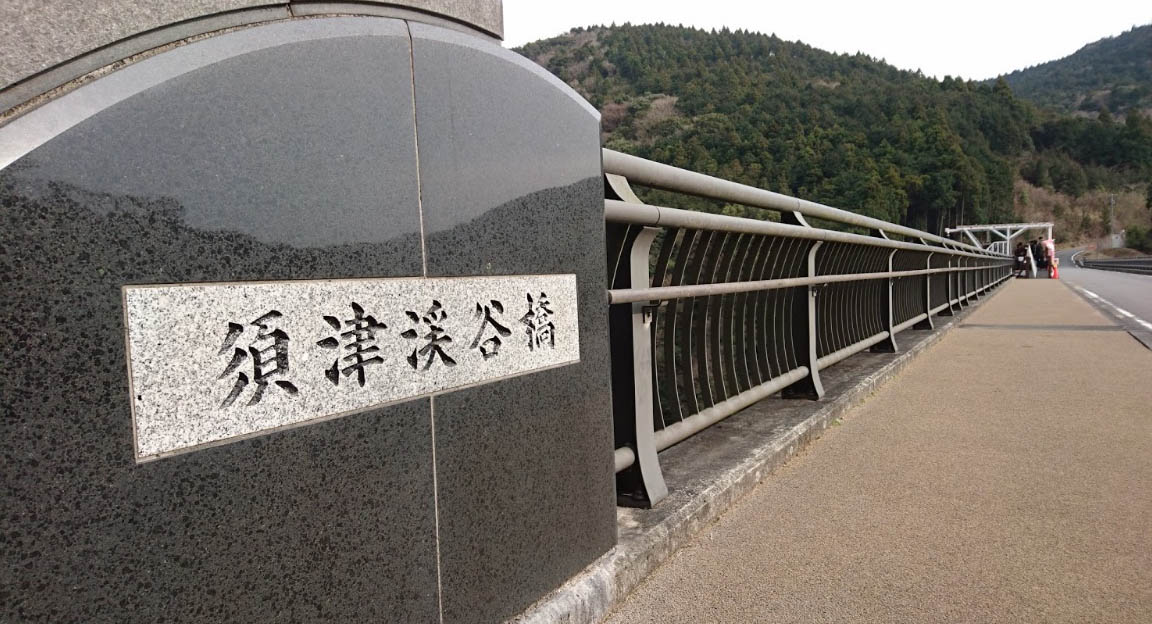
須津渓谷橋
Fuji, Shizuoka, Japan
(177) feet high / (54) meters high
344 foot span / 105 meter span
19??
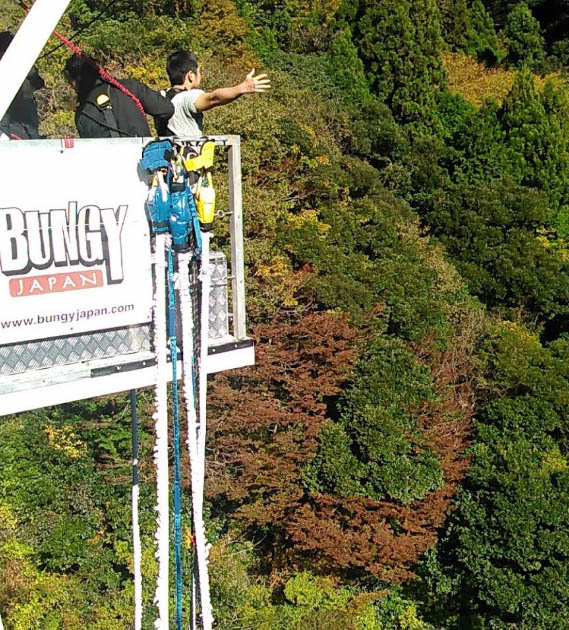
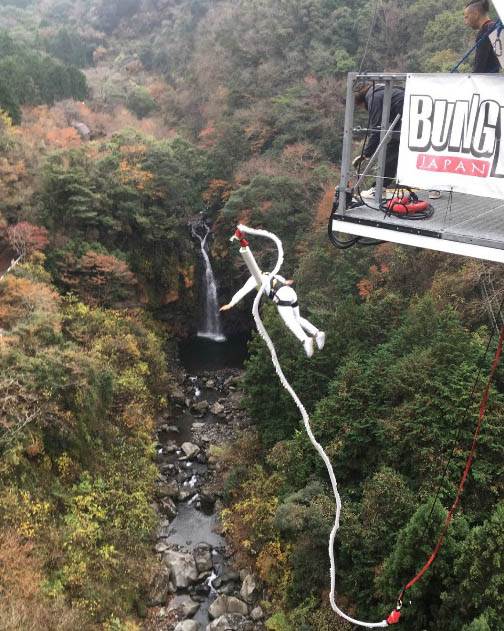
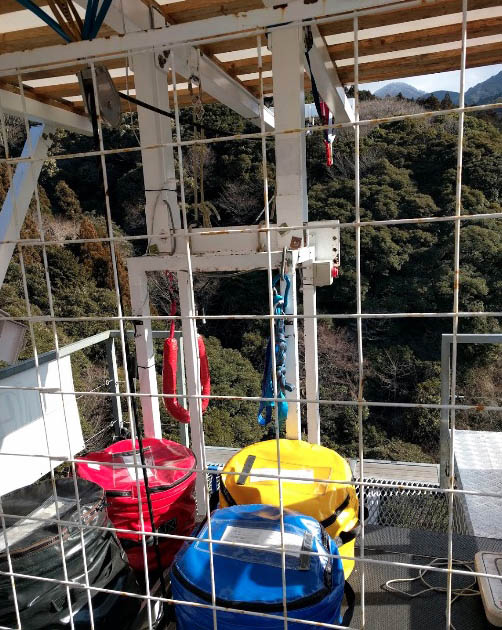
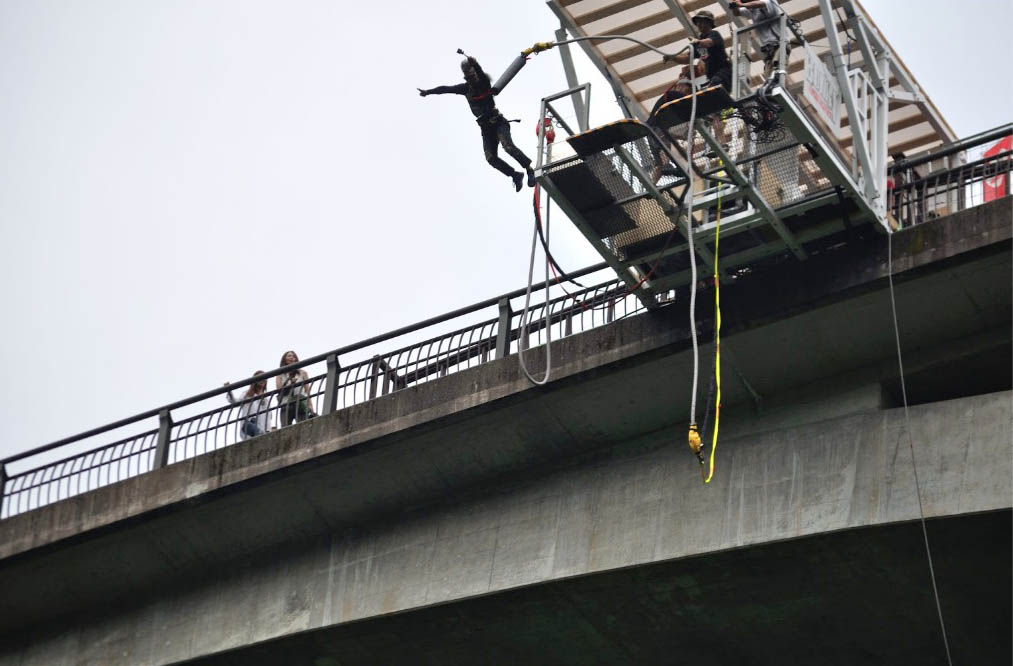
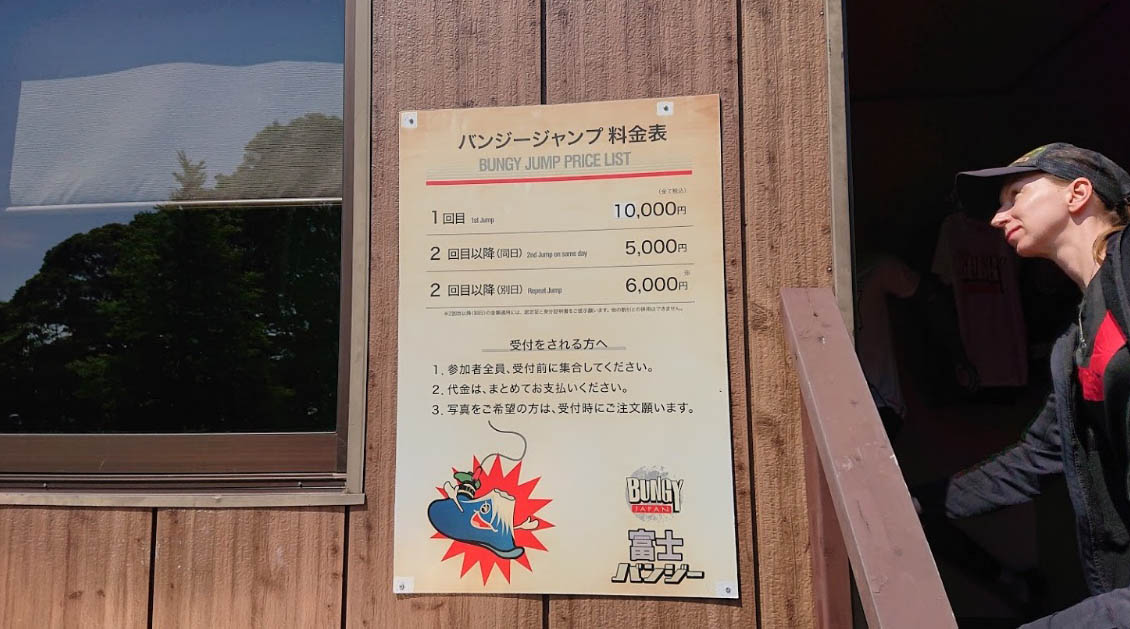
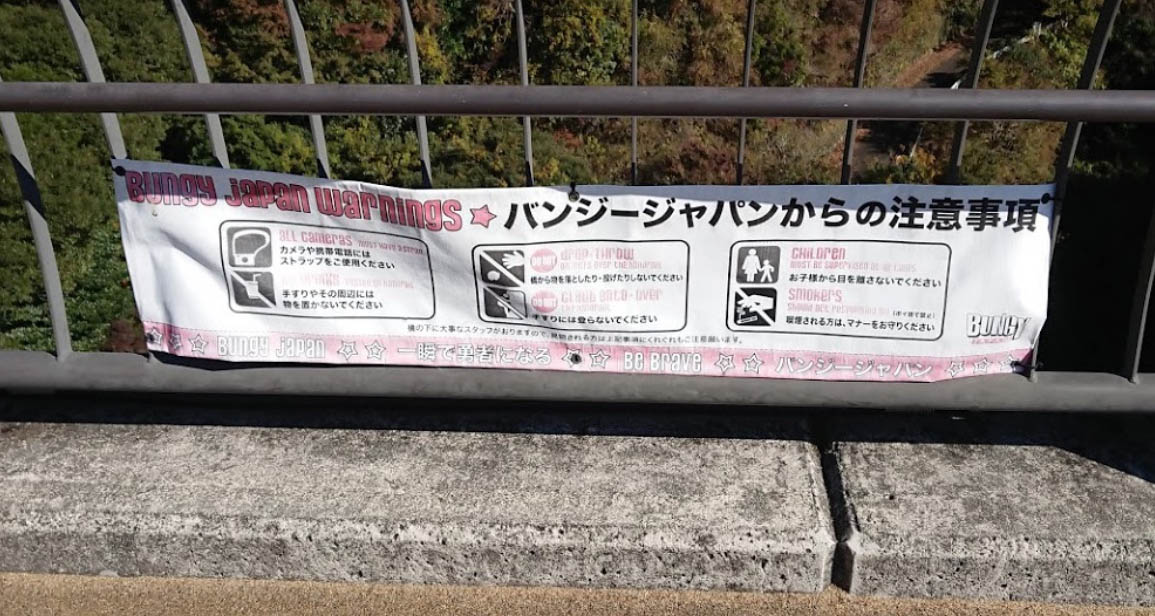
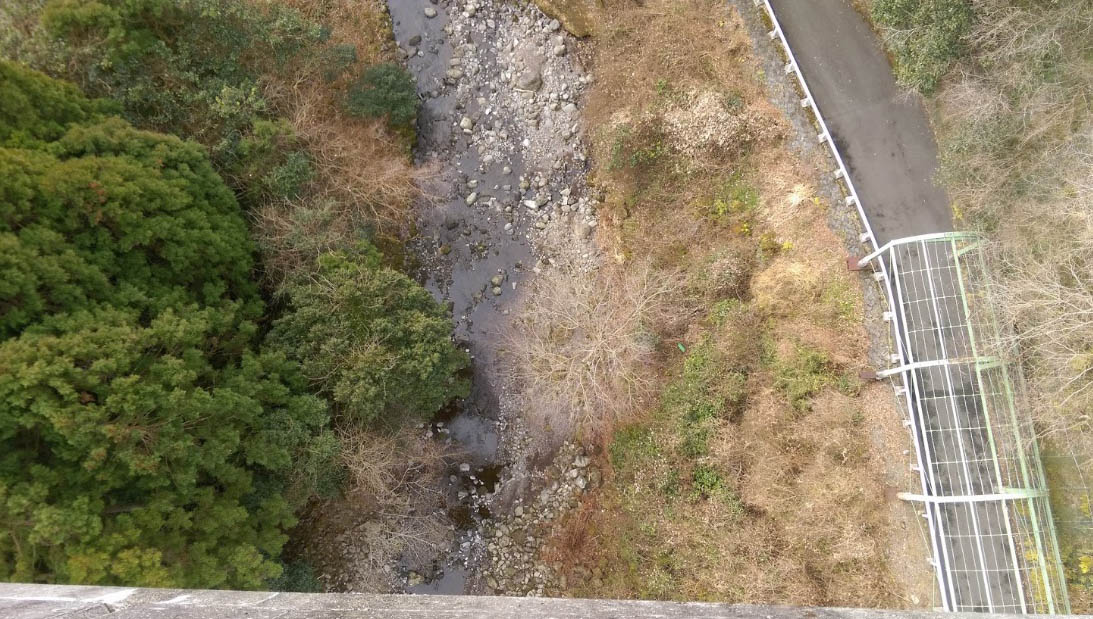
The Sudokeikoku Fuji Bungy Bridge is well hidden in a remote gorge just 20 kilometers south of Mount Fuji. The 2-lane concrete arch crossing is also home to one of Japan's few bungy jump spots. Guests experience a drop of 50 meters in front of a spectacular waterfall. Bungy Japan also offers bungy jumping from other high bridges in Japan including Ryujin, Itsukimura, Sarugakyo, Minakami, Kaiun and Yamba Bridges.
http://www.bungyjapan.com/?lang=en
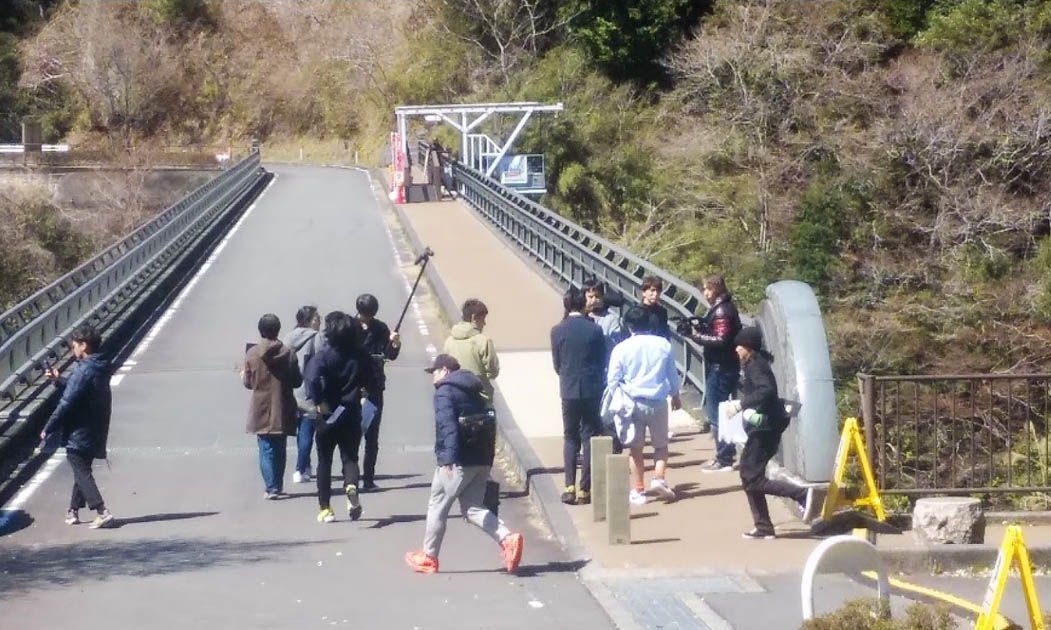
The 105 meter arch of the Sudokeikoku Bridge was built without a more conventional highline tower. Instead the arch halves were held back by a series of cable stays that were directly anchored horizontally into the foundations with an additional prestressing cable used along the topside of the arch ribs. The 12 meter wide deck has a 2 meter wide walkway that allows easy access to the bungy platform.
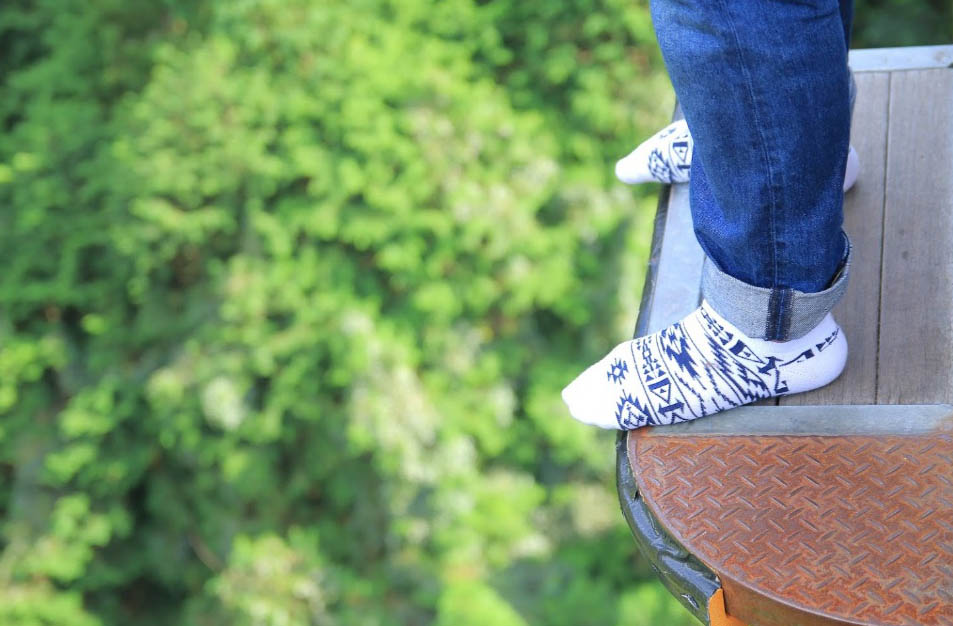
Image by NATALIA KOPORULINA.
Sudokeikoku Fuji Bungy Bridge satellite image.
Sudokeikoku Fuji Bungy Bridge location map.
